

I’ve ruined more manicures than I care to admit. Chips within hours, peeling after two days, and polishes that never seemed to dry. Each time, I blamed the product. But the problem wasn’t the polish—it was me. I was making the same mistakes over and over, unknowingly sabotaging my manicures before they even had a chance.
Here are the most common mistakes that ruin a manicure, divided into the key stages of the process, along with simple fixes that will transform your results.
Nail Preparation Stage
Mistake #1: Skipping or rushing preparation. This is the number one reason manicures fail. Your natural nail plate has oils, moisture, and invisible cuticle tissue that prevent polish from bonding. If you skip the prep, your polish will chip within days, regardless of the product quality.
The fix: Remove old polish, push back cuticles, and lightly buff the nail surface to remove shine—just two or three gentle passes. Wipe every nail thoroughly with rubbing alcohol or a nail dehydrator. After this, do not touch your nails. Finger oils transfer instantly.
Mistake #2: Filing nails incorrectly. Filing back and forth—sawing—creates micro-tears in the nail layers that travel up the nail as it grows, causing peeling and splitting. Filing wet nails is another common error; wet nails are soft and tear rather than filing cleanly.
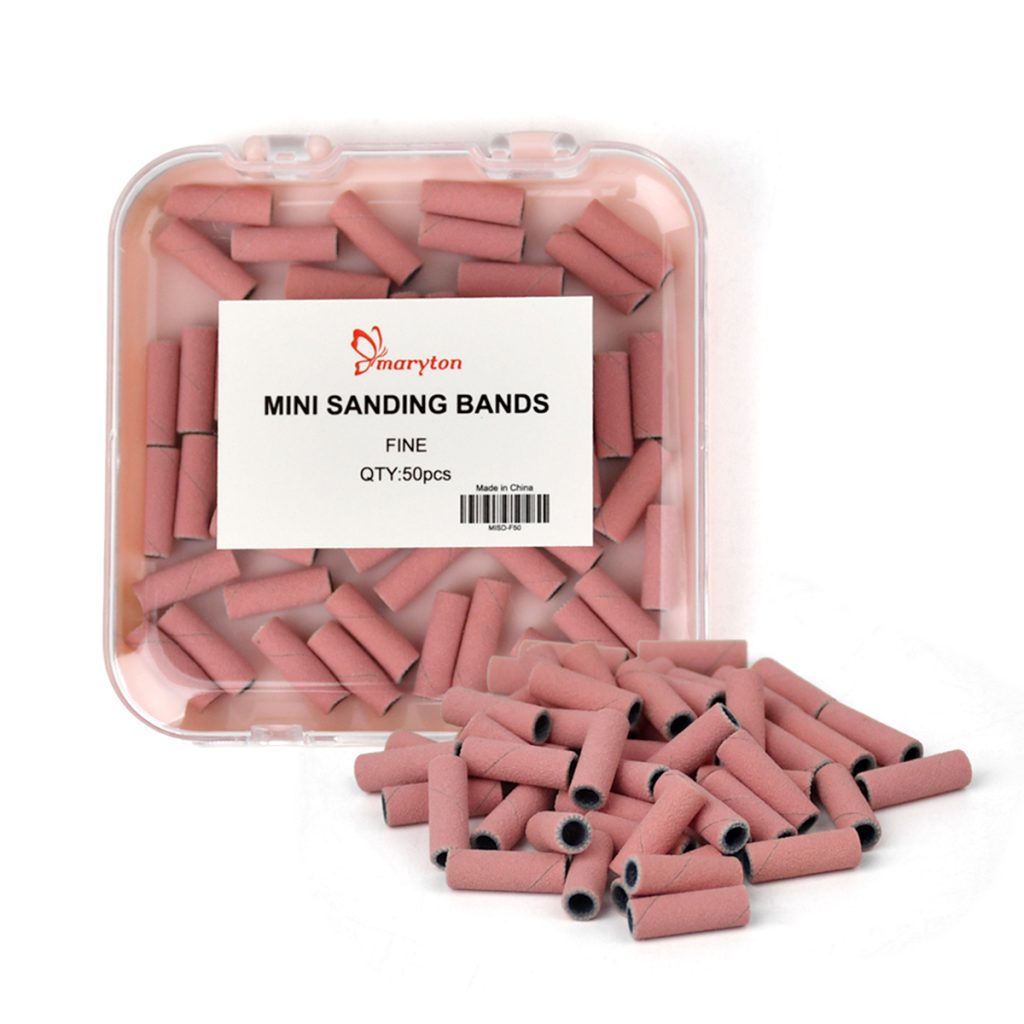
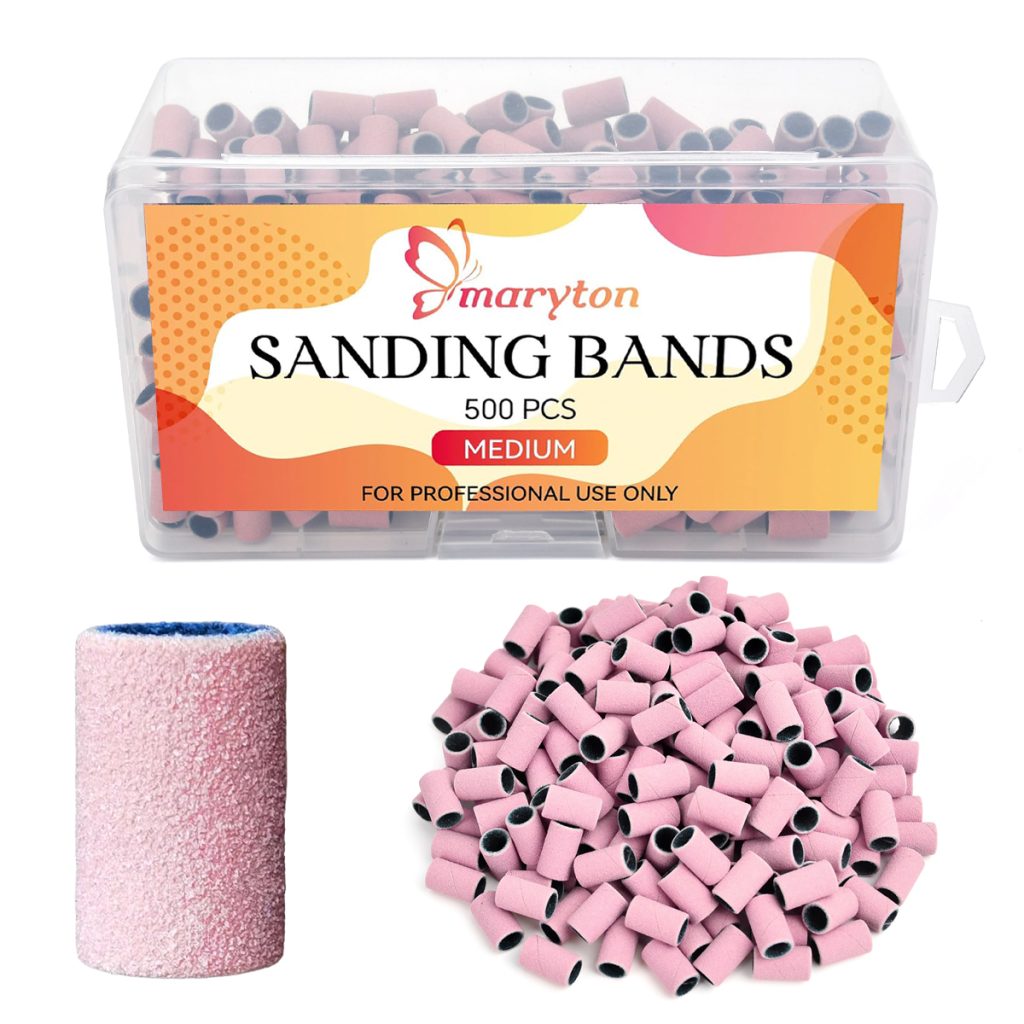
The fix: Always file in one direction, from the outer edge toward the centre, using a fine-grit sanding band. File dry nails only.
Mistake #3: Cutting or removing cuticles. The cuticle is a protective seal that prevents bacteria from entering the nail matrix. Cutting it compromises this barrier and leads to infection and painful hangnails.
The fix: Push cuticles back gently after a shower or soak, when they are soft. Only trim loose, dead skin with nippers—never living tissue.
Application Stage
Mistake #4: Skipping the base coat. Base coat is not optional. Without it, dark polishes will stain your nails, and your manicure will chip faster.
The fix: Always apply a thin, even layer of base coat before colour. It prevents staining, helps polish adhere, and creates a smooth surface.
Mistake #5: Applying polish too thickly. Thick coats take forever to dry, trap air bubbles, and peel more easily. They also look lumpy and unprofessional.
The fix: Apply two or three thin coats rather than one thick coat. Each layer should be thin enough to dry evenly and level out smoothly.
Mistake #6: Flooding cuticles. Polish that touches the skin around the nail creates a physical barrier that prevents adhesion, causing the polish to lift and peel. It also looks messy and unprofessional.
The fix: Leave a small gap—about 1mm—between the polish and your cuticle and sidewalls. If polish touches skin, clean it up immediately with a brush dipped in remover.
Mistake #7: Shaking the polish bottle. Shaking introduces air bubbles that end up on your nails, creating an uneven, bumpy finish.
The fix: Roll the bottle gently between your palms to mix the polish without creating bubbles.
Mistake #8: Not capping the free edge. The free edge—the tip of the nail—is the most vulnerable part. If you do not seal it, water seeps underneath and causes chipping.
The fix: Run the brush along the nail tip with every layer—base coat, colour, and top coat.
Drying and Finishing Stage
Mistake #9: Using the nail lamp incorrectly. Under-curing leaves gel polish soft and prone to peeling; over-curing can make it brittle and cause heat spikes. Using an incompatible lamp with your gel brand leads to poor adhesion.
The fix: Follow the manufacturer’s recommended cure time. Use a lamp that is compatible with your gel product. LED lamps cure faster (30-60 seconds); UV lamps take longer (2 minutes). Make sure your lamp has sufficient wattage for your product.
Mistake #10: Forgetting top coat. Top coat seals the colour, adds shine, and protects against chipping. Without it, even the best polish will chip quickly.
The fix: Always apply a generous layer of top coat. For extra durability, apply a second layer after the first has dried.
Mistake #11: Rushing between coats. Applying the next layer before the previous one is dry pulls up the polish and creates streaks and bubbles.
The fix: Allow each layer to dry completely before applying the next. For regular polish, wait 2-3 minutes between coats. For gel, cure fully.
Other Common Mistakes
Mistake #12: Using polish remover to thin polish. Nail polish remover breaks down the chemical structure of the polish, ruining its consistency and performance.
The fix: Use nail polish thinner, not remover. Thinner restores the original consistency without damaging the formula.
Mistake #13: Storing polish in direct sunlight or heat. UV light and heat break down the pigments and solvents, causing the colour to fade or change.
The fix: Store your nail polish in a cool, dark place. A drawer or cabinet is ideal.
Mistake #14: Using nails as tools. Opening cans, peeling stickers, or scraping with your nails creates lateral pressure that causes chipping and breakage.
The fix: Keep a small tool nearby for tasks that might damage your manicure.
The Bottom Line
Most manicure failures are preventable. The difference between a manicure that lasts three days and one that lasts two weeks is not luck—it is technique. Prep your nails thoroughly, apply thin layers, cap the free edge, and always use base and top coats. With these simple changes, your manicures will stay flawless, glossy, and beautiful.
Read also: The Complete Guide to French Pedicure: Can You Do It on Toes and How to Make It Last


One thought on “Common Mistakes That Ruin a Perfect Manicure and How to Avoid Them”