I still remember the first time I tried to paint French tips on my toes. I had mastered the technique on my fingernails years ago, so I assumed toes would be easy. Instead, I ended up with crooked lines, uneven tips, and polish all over my skin. The smaller canvas, the different shape, and the angle of working on my own feet made it a whole new challenge.
But after some practice, I cracked the code. Here is everything I have learned about achieving a beautiful French pedicure at home, from the tools you need to the steps that make it work.
Yes, French Manicure Works Beautifully on Toes
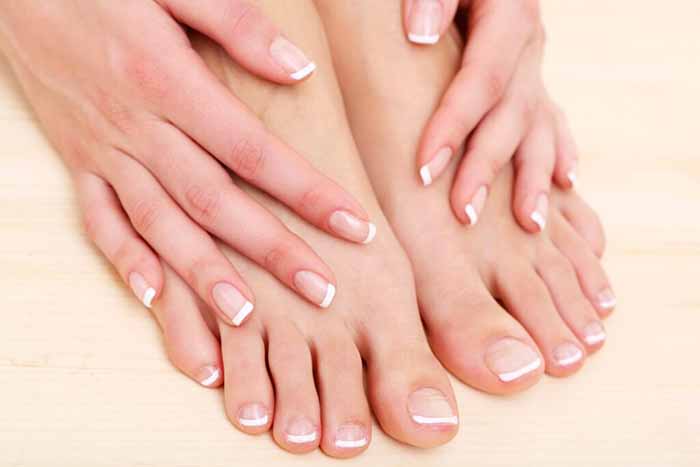
Absolutely. A French pedicure is just as elegant—and often even more striking—on toes than on fingers. The clean, classic contrast of a neutral base with bright tips looks polished and sophisticated. It elongates the appearance of the toes, making them look more slender. It also provides a fresh, clean look that works equally well for casual summer sandals, formal events, or a day at the office. Best of all, it is one of the most versatile pedicure styles, complementing virtually any outfit, skin tone, or season.
Essential Tools for a French Pedicure
The tools for a French pedicure are similar to those for a regular pedicure, with a few additions for the white tips.
Toenail clippers. Choose a sturdy pair with a straight edge. Toenails are thicker and require stronger clippers than fingernails.
Nail file. A fine-grit file (180-240) for shaping and smoothing. Glass files are gentle and last forever.
Cuticle pusher and nippers. For prepping the nail bed. Push cuticles back gently; only trim loose, dead skin.
Toe separators. These keep your toes apart during application, preventing smudging and making it easier to work on each toe individually.
French tip guides. Curved stickers that create the perfect smile line. They come in different curves to match the natural shape of your toes.
Base coat, sheer nude/pink polish, white tip polish, top coat. For a gel version, you will also need a UV/LED lamp and gel versions of these products.
Small cleanup brush. An angled brush dipped in remover fixes mistakes and perfects the smile line.
Step-by-Step Guide to a Perfect French Pedicure
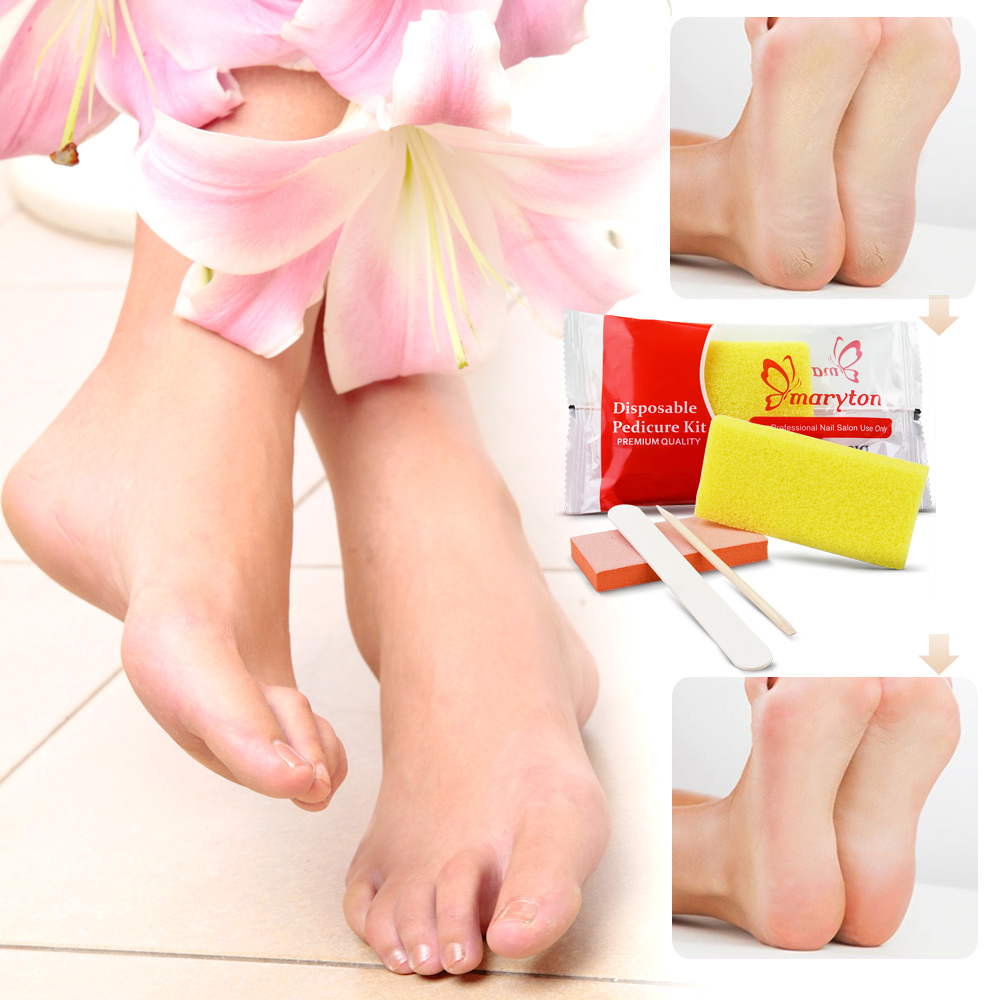
Step 1: Prep your feet. Start with clean, dry feet. Soak your feet in warm water for 10 minutes to soften skin and cuticles. Gently exfoliate with a foot scrub or pumice stone, paying attention to heels and calluses. Pat dry thoroughly.
Step 2: Trim and shape. Trim toenails straight across to prevent ingrown nails. File edges smooth. Gently push back cuticles and trim only loose, dead skin.
Step 3: Apply a base coat. Wipe each toe with rubbing alcohol to remove oils. Apply one thin layer of base coat and let it dry completely. This prevents staining and helps the polish adhere.
Step 4: Apply the base color. Paint your chosen sheer nude or pale pink across the entire toenail. Apply two thin coats for even coverage and let each coat dry completely.
Step 5: Create the tips. This is the signature step. Place a French tip guide just below where you want the white tip to begin. The guide should follow the natural curve of your toe. Paint the exposed tip with your chosen white polish. For a modern twist, try pastel, metallic, or neon tips. Apply one or two thin coats for full coverage. Remove the guide while the polish is still wet for the cleanest line, or let it dry and peel it off gently.
Step 6: Clean up. Use a small brush dipped in remover to perfect the smile line and clean any stray polish from the skin.
Step 7: Seal with top coat. Apply a generous layer of high-gloss top coat to protect the design, add shine, and extend wear. Cap the free edge—run the brush along the tip—to prevent chipping.
French Pedicure vs. French Manicure: Key Differences
While the concept is the same, there are several important differences.
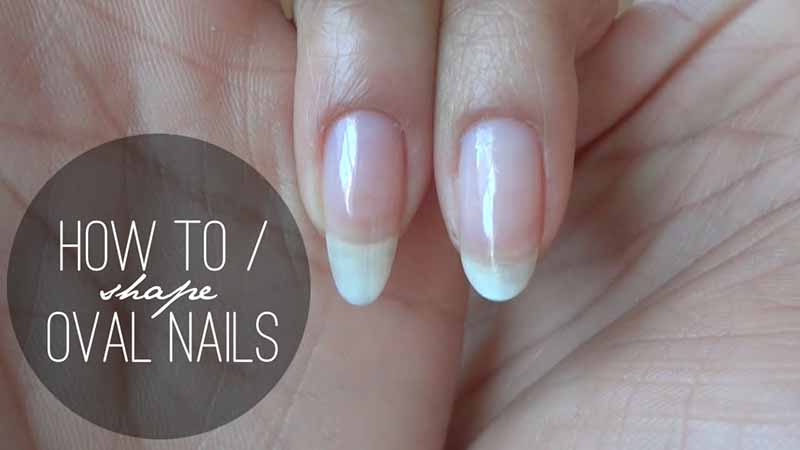
Nail shape. French manicures often feature almond, oval, or squoval shapes. French pedicures look best with shorter, squoval or round shapes. Long or pointed toes are prone to breaking and can look unbalanced.
Size and detail. Toenails are smaller than fingernails, which means the white tip should be proportionally thinner. A thick white tip on a small toe can look heavy and overwhelming. Keep the tip delicate—about half the width you would use on a finger.
Angle and application. Working on your own toes is trickier than working on fingers. Use toe separators to keep toes apart. Work on one toe at a time. Place your foot on a stable surface and use your other hand to steady the foot.
Durability. Toenails grow slower than fingernails, so a French pedicure lasts longer—typically 3-4 weeks. However, toes also face more friction from shoes and socks, so proper application and sealing are crucial.
Style variations. Toenails are often the perfect canvas for bolder variations. A bright neon tip, a soft ombré, or a reverse French (colour at the cuticle) can be especially striking on toes.
How to Extend the Longevity of Your French Pedicure
A French pedicure can last 3-4 weeks with the right care.
Use a base coat and top coat. This is non-negotiable. Base coat prevents staining and helps polish adhere. Top coat seals everything in and adds shine.
Apply thin layers. Thick layers peel and chip faster. Two thin coats of base, color, and top are better than one thick coat.
Cap the free edge. Run the brush along the nail tip with every layer. This seals the edge and prevents water from seeping underneath.
Apply cuticle oil daily. Hydrated cuticles keep the skin flexible and prevent lifting at the edges.
Wear gloves for wet work. Dishwashing and cleaning expose toes to water and chemicals, which are the fastest routes to chipping.
Avoid using your toes as tools. Opening doors with your feet or pushing heavy objects puts stress on the nail bed.
For gel polish: If you choose gel for its durability, cure each layer under the lamp. A gel French pedicure can last 4 weeks or more.
When you see a lifted edge: Do not peel. File the edge smooth to prevent further lifting, and apply a thin layer of clear top coat to seal it.
The Bottom Line
A French pedicure is a timeless, elegant choice that works beautifully on toes. With the right tools, a steady hand, and careful application, you can achieve a salon-quality result at home. The smaller canvas requires precision, but the effect is polished, sophisticated, and guaranteed to make your summer sandals look even better. And with proper care, your French pedicure will stay beautiful for weeks.