An oval nail shape is soft, elegant, and universally flattering. It elongates the fingers, balances wide nail beds, and works with almost any length. For gel nails, shaping is especially important because gel is cured hard. Once the shape is set, it cannot be changed as easily as natural nails. That is why filing gel into an oval should be done with care, patience, and the right tools.
This guide explains how to file gel nails into a clean oval shape and how to maintain that shape between appointments.
What Makes a Good Oval Shape?
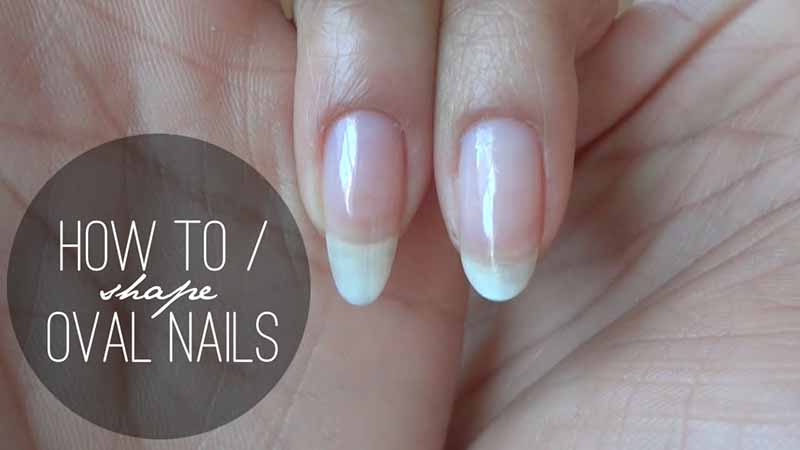
An oval nail has three key features. First, the sides taper gently inward from the sidewalls toward the tip. Second, the tip is rounded, not pointed and not flat. Third, the overall silhouette is balanced. Both sides curve inward equally, and the highest point of the tip sits at the centre of the nail.
A good oval shape should look natural. It should not be so narrow that the nail looks pinched. It should not be so wide that it looks like a round or squoval shape. The transition from the sidewall to the tip should be smooth and continuous.
Tools You Will Need
For gel nails, you need tools that cut efficiently without creating heat or damaging the enhancement.
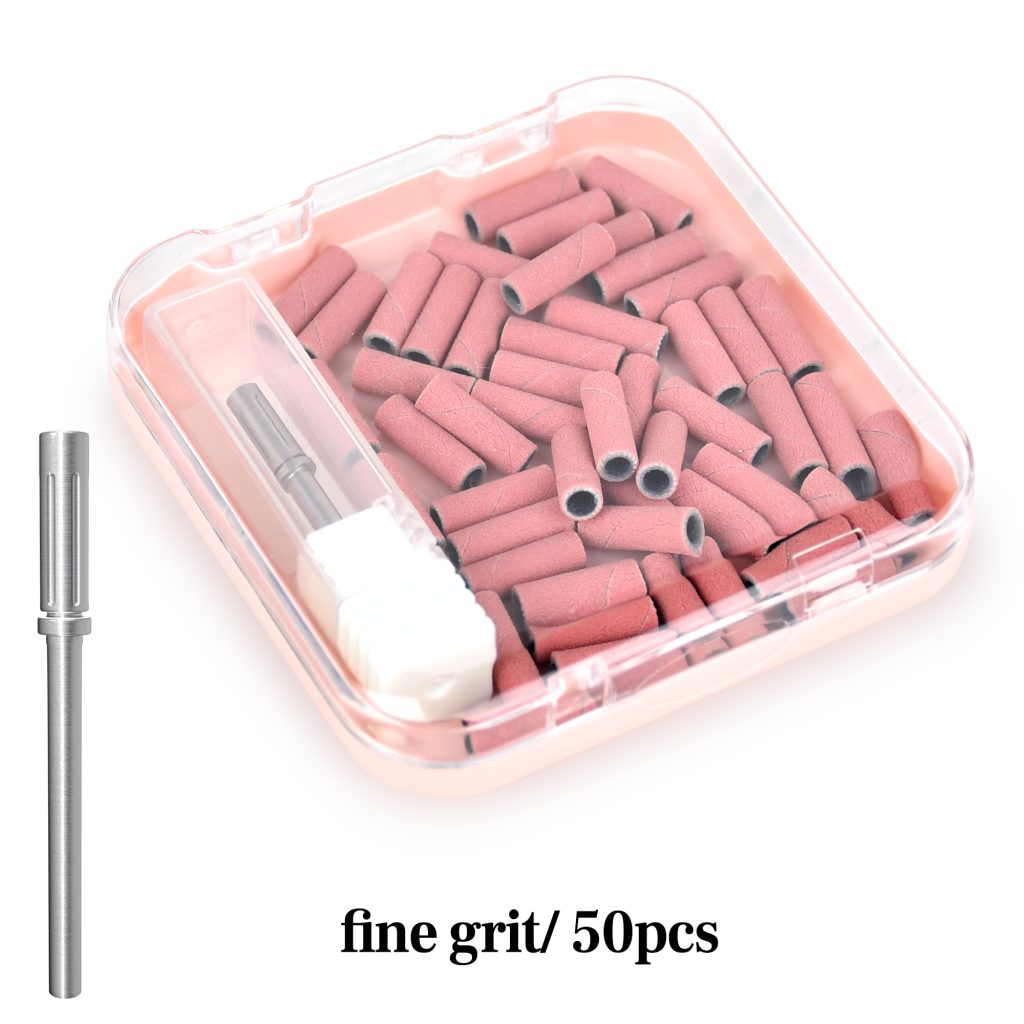
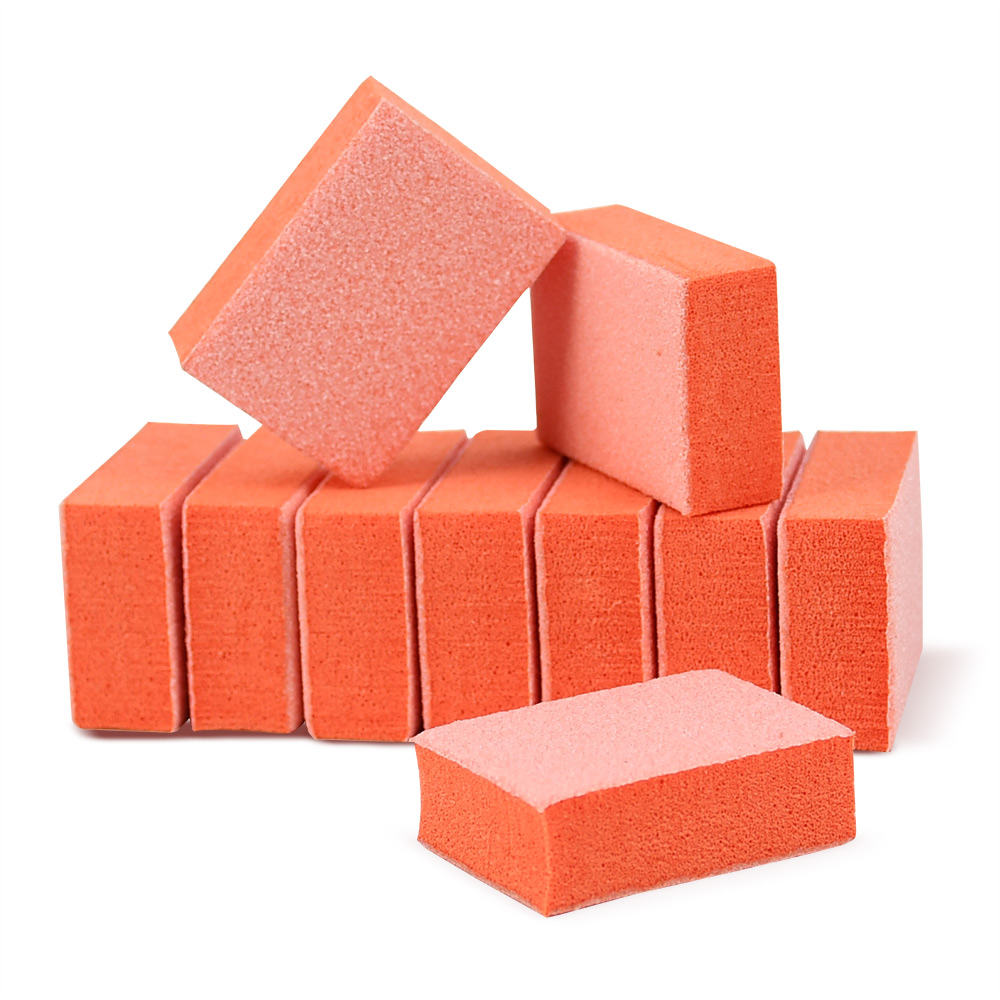
A fine-grit hand file, around 180 to 240 grit, is the safest choice. If you use an electric file, choose a fine ceramic bit or a fine sanding band. A buffer block is useful for smoothing the surface. You also need a dust brush, a cuticle pusher, and cuticle oil. If the gel is thick, you may need a medium-grit file first, but always finish with a fine grit.
Avoid coarse files. They remove too much material too quickly and can crack the gel or thin the natural nail underneath.
Step-by-Step: Filing Gel Nails into an Oval Shape
Step 1: Assess the Length and Condition
Before you file, look at the gel nails. Check for lifting, cracks, or uneven thickness. If the gel is lifting at the cuticle or sidewalls, do not file over it. The shape will not last, and water can get underneath. Repair or fill the gel first.
Decide on the final length. Oval nails look best when there is a little length beyond the fingertip. If the nails are very short, an oval shape may look more like a round shape. That is fine. Work with the length you have.
Step 2: Find the Centre Point
Look at the nail from above. Find the exact centre of the free edge. This is the point where the rounded tip will sit. Mark it mentally. Every file stroke should aim toward this point.
Step 3: File the Sides
Hold the file at a slight angle against the sidewall. File from the sidewall toward the centre point in one smooth stroke. Do not saw back and forth. Lift the file off the nail after each stroke. Work on one side, then the other. Check your progress often.
For gel nails, use light pressure. Let the file do the work. If you are using an e-file, keep the speed low, around 5,000 to 8,000 RPM. Keep the bit moving. Never hold it in one spot.
The goal is a gentle taper. The sides should narrow gradually. Do not file too much from the sidewalls, or the nail will look pinched and weak.
Step 4: Round the Tip
Once the sides are tapered, round the tip. Hold the file at a low angle and use short, gentle strokes to curve the tip from one side to the other. The tip should be a soft dome, not a point. A pointed tip is more likely to break and looks more like an almond shape.
Check the shape from the side. The tip should not curve downward or upward. It should follow the natural line of the nail.
Step 5: Check Symmetry
Look at the nail from above, from the side, and from the palm side. Both sides should taper equally. The tip should be centred. If one side is straighter than the other, file lightly to correct it. Small adjustments are better than large ones.
Step 6: Smooth the Surface
Use a nail buffer to gently smooth the surface of the gel. This removes any filing marks and creates an even finish. Do not over-buff. You do not want to thin the gel or expose the natural nail.
Step 7: Remove Dust and Hydrate
Brush away all dust. Wipe the nails with a lint-free wipe if needed. Apply cuticle oil to the skin around the nails. This keeps the cuticles soft and healthy.
Tips for Keeping the Oval Shape Long-Term
An oval shape can lose its definition quickly as the gel grows out and daily life takes its toll. Here is how to maintain it.
Get regular fills. Gel nails need a fill every two to three weeks. During the fill, the technician can rebalance the apex and reshape the oval. Do not wait too long. When the gel grows out, the shape shifts and the stress point moves, making the nails more prone to breaking.
File lightly between appointments. If you notice a small snag or a slight change in shape, use a fine-grit file to smooth it. File in one direction only. Do not try to reshape the entire nail at home unless you are confident.
Keep the free edge sealed. The tip of the nail is the most vulnerable part. If the gel top coat wears away, the gel can chip. Ask your technician to cap the free edge during application, and reapply a gel top coat if you have a lamp at home.
Wear gloves for wet work. Water and cleaning products weaken the bond between the gel and the natural nail. They also soften the gel over time. Wear rubber gloves for dishwashing, cleaning, and gardening.
Avoid using nails as tools. Opening cans, peeling stickers, and scraping labels puts pressure on the tip. This can chip the gel or change the shape. Use a proper tool instead.
Do not bite or pick. Biting or picking at gel nails can crack the gel and damage the natural nail. If a nail lifts, do not pull it. Have it repaired.
Moisturize daily. Cuticle oil keeps the natural nail and surrounding skin flexible. Hydrated nails are less likely to lift and break. Apply oil morning and night.
Protect the shape during activities. If you play sports, do heavy lifting, or work with your hands, consider a shorter oval shape. Shorter nails are more durable and less likely to catch.
Choose the right length. Oval nails do not need to be long. A medium length is elegant and practical. Very long oval nails are more fragile and harder to maintain.
Common Mistakes to Avoid
Do not file wet gel nails. Water can soften the gel and make it prone to cracking. Always file dry.
Do not use a coarse file on gel. It can cause the gel to lift or crack. Use a fine grit.
Do not file the natural nail. Only file the gel. If you see the natural nail showing through, stop and have the nail repaired.
Do not over-taper. A pinched nail looks unnatural and weakens the structure.
Do not rush. Shaping gel into a perfect oval takes time. Check your work often and make small adjustments.
Final Thoughts
Filing gel nails into an oval shape is a skill that improves with practice. The key is to work slowly, use the right tools, and keep checking symmetry. Aim for a gentle taper and a softly rounded tip. Once the shape is perfect, maintain it with regular fills, daily cuticle oil, and protective habits. An oval shape is timeless and flattering. With a little care, your gel nails will stay elegant and balanced for weeks.
Read also: Common Mistakes That Ruin a Perfect Manicure and How to Avoid Them